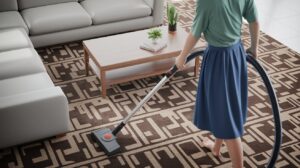
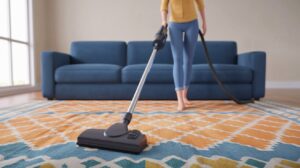
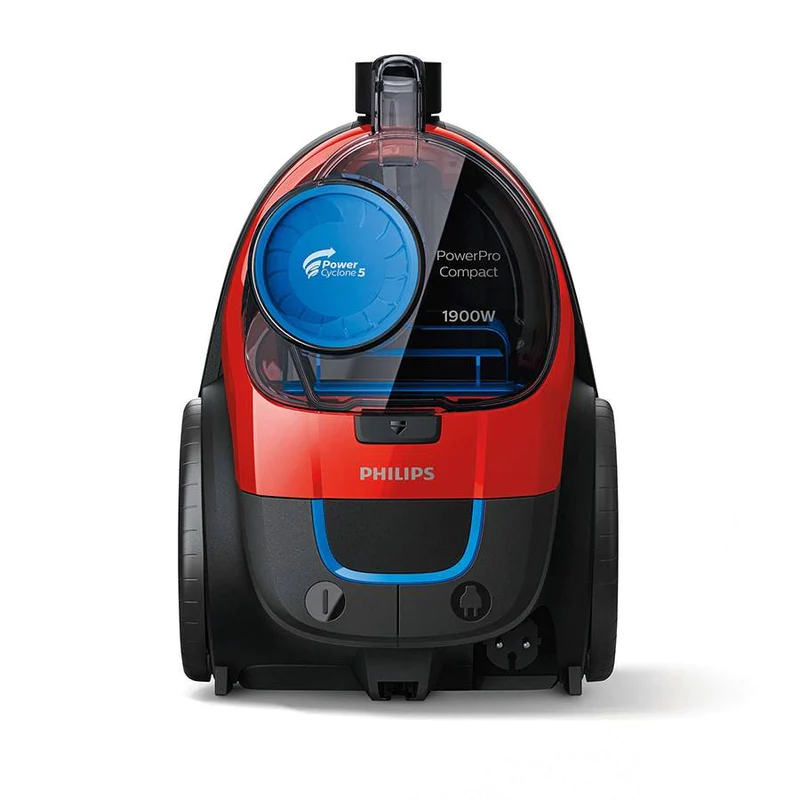
Vacuuming is an indispensable household task that plays a critical role in maintaining cleanliness and a healthy living environment. However, simply running a Vacuum Like a Pro your floors isn’t enough to achieve professional-level results. Knowing how to vacuum effectively not only saves time but also ensures that dirt, dust, allergens, and pet hair are removed thoroughly.
Whether you’re dealing with high-traffic areas, pet-friendly spaces, or delicate surfaces like hardwood floors, understanding the right techniques and tools can make all the difference. This guide dives deep into the art of vacuuming, from preparation and strategic cleaning methods to proper vacuum maintenance. Along the way, we’ll share tips for targeting challenging areas like stairs and tight corners, as well as advice on avoiding common mistakes.
Ready to transform your cleaning routine? Let’s explore how you can vacuum like a pro and elevate your home’s cleanliness to the next level.

1. Preparation is Key
Before you even turn on your vacuum, taking the time to prepare can make a huge difference in your cleaning results.
1.1 Declutter the Area
The first step to efficient vacuuming is clearing the area of obstacles. Items like toys, cords, and small furniture can obstruct your vacuum’s path and reduce its effectiveness. Use a laundry basket to quickly gather stray items and keep them out of the way. Decluttering not only speeds up your cleaning process but also prevents damage to your vacuum cleaner.
Additionally, move lightweight furniture like chairs or side tables to expose hidden dust and debris. You’ll be surprised at how much dirt accumulates in areas that are often overlooked. Don’t forget to check under rugs or mats, as these can trap dust and dirt as well.
1.2 Check Your Vacuum
To ensure optimal performance, it’s essential to inspect your vacuum cleaner before you start:
- Empty the Dust Bin or Replace the Bag: A full bin or bag can reduce suction power significantly. Make it a habit to check and empty it before every use.
- Inspect Filters: Filters play a crucial role in maintaining suction and improving air quality. Wash or replace them according to the manufacturer’s instructions. HEPA filters, in particular, need special attention as they trap allergens and fine particles.
- Examine the Brush Roll: Look for tangled hair, strings, or debris that may impede the brush roll’s rotation. A clean brush roll ensures better cleaning results and prevents damage to your flooring.
1.3 Know Your Vacuum Settings
Many modern vacuum cleaners come with adjustable settings for different surfaces. Familiarizing yourself with these settings can help you achieve better results:
- Use a higher suction setting for thick carpets to remove embedded dirt.
- Switch to a low-power mode for delicate surfaces like hardwood or laminate floors to avoid scratches.
- For rugs, ensure the brush roll is engaged, but avoid excessive suction that might damage the fibers.
Proper preparation ensures that your vacuuming session will be smooth and efficient, saving you time and effort in the long run.
2. Master Vacuuming Techniques
Professional cleaners follow specific techniques to ensure thorough cleaning. Here’s how you can replicate their expertise:
2.1 Follow a Strategic Pattern
Adopting a systematic approach can make a significant difference in your results. Start at the farthest corner of the room and work your way toward the exit. This method prevents you from stepping on already-cleaned areas, keeping your efforts efficient and reducing the spread of dirt.
For the best results, use slow and deliberate strokes. Quick passes may leave dirt behind, especially in carpets. Overlap each stroke slightly to ensure no spots are missed. This overlapping technique is particularly effective for high-traffic areas and thick-pile carpets.
2.2 Use Attachments Like a Pro
Attachments are often overlooked, but they are designed to make your vacuum more versatile. Here’s how to use them effectively:
- Crevice Tool: Ideal for cleaning edges, corners, and tight spaces, such as between cushions or along baseboards.
- Upholstery Brush: Perfect for fabric surfaces like sofas, chairs, and curtains. It removes dust and pet hair without damaging the material.
- Dusting Brush: Use this attachment for delicate surfaces like shelves, blinds, and lampshades.
- Pet Hair Tool: A lifesaver for homes with furry friends. This tool is specifically designed to lift stubborn hair from furniture and carpets.
2.3 Multi-Directional Cleaning
For carpets, vacuuming in multiple directions is crucial. Dirt and debris often get trapped deep within the fibers, and a single pass may not be enough to remove them. Vacuum one way, then go over the same area at a perpendicular angle. This cross-pattern technique ensures a deeper clean.
2.4 Don’t Forget Under Furniture
Dust bunnies love to hide under furniture. Use a low-profile attachment or an extension wand to reach these areas. If possible, move lightweight furniture to access hidden dirt. For heavier pieces, use sliders or enlist help to shift them temporarily.
Thorough techniques ensure your efforts are effective, leaving your home truly clean and refreshed.
3. Target Common Problem Areas
Every home has specific areas that require extra attention. Here’s how to tackle them effectively:
3.1 Pet Hair and Odors
Pets bring joy, but they also bring hair and odors. To manage these challenges:
- Vacuum Pet Areas Frequently: Focus on pet beds, carpets, and upholstery where hair tends to accumulate. Frequent cleaning prevents hair from embedding deeply.
- Use Baking Soda for Odors: Sprinkle baking soda on carpets and let it sit for 10-15 minutes before vacuuming. This natural deodorizer neutralizes unpleasant smells without harsh chemicals.
- Invest in a Pet-Specific Vacuum: These models come with specialized attachments and stronger suction for dealing with pet hair. Some also feature advanced filtration systems to trap allergens.
3.2 High-Traffic Zones
High-traffic areas like entryways, hallways, and living rooms see the most dirt. Vacuum these zones more frequently, ideally daily or every other day, to prevent dirt from spreading to other parts of the house. For added protection, consider using area rugs or mats that can be cleaned easily.
3.3 Stairs
Stairs can be tricky to clean, but with the right approach, you can make the task easier:
- Use a handheld vacuum or a hose attachment for better control.
- Start at the top step and work your way down, cleaning both the treads and risers.
- For carpeted stairs, make multiple passes to ensure thorough cleaning. A crevice tool can help reach tight corners.
3.4 Hard-to-Reach Spots
Don’t neglect areas like ceiling corners, vents, and light fixtures. Use your vacuum’s extension wand and a dusting brush to clean these spots effectively. Regular maintenance prevents dust buildup and improves indoor air quality.
Addressing these problem areas ensures a comprehensive clean, leaving no corner untouched.

4. Time-Saving Tips
Cleaning doesn’t have to consume your entire day. Here are some tips to make vacuuming quicker and more efficient:
4.1 Divide and Conquer
For larger homes, break the task into manageable sections. For example, clean bedrooms on one day and common areas on another. This strategy prevents burnout and ensures each area gets the attention it needs. Consider assigning specific areas to different family members for a collaborative effort.
4.2 Invest in Technology
Robotic vacuums are an excellent addition to your cleaning arsenal. They handle daily maintenance in high-traffic areas, allowing you to focus on deep cleaning less frequently. Look for models with advanced mapping and scheduling features for maximum efficiency. Some even come with mop attachments for added functionality.
4.3 Set a Schedule
Consistency is key to maintaining a clean home. Develop a vacuuming schedule based on your household’s needs:
- Daily: High-traffic areas and pet zones.
- Weekly: Bedrooms, stairs, and furniture.
- Biweekly: Low-traffic areas and hard-to-reach spots.
A well-planned schedule keeps your home consistently clean without feeling overwhelming.
5. Maintaining Your Vacuum for Peak Performance
A well-maintained vacuum cleaner is essential for efficient cleaning. Follow these tips to keep your vacuum in top condition:
5.1 Clean or Replace Filters Regularly
Filters trap fine dust and allergens, but they can become clogged over time. Check your vacuum’s manual for cleaning or replacement instructions. Generally, filters should be cleaned or replaced every 3-6 months. HEPA filters, in particular, require regular attention to maintain air quality.
5.2 Empty Bags/Bins Frequently
A full bag or bin reduces suction power and makes your vacuum work harder. Empty the bin or replace the bag when it’s about two-thirds full to maintain peak performance. For bagless models, clean the bin with warm, soapy water occasionally to prevent odors.
5.3 Perform Routine Maintenance
Inspect your vacuum regularly for signs of wear and tear. Check the brush roll, belts, and hoses for blockages or damage. Replace worn-out parts promptly to avoid further issues. Lubricate moving parts as needed to ensure smooth operation.
5.4 Professional Servicing
If your vacuum isn’t performing as expected, consider professional servicing. This is especially important for high-end or heavily used models. Annual servicing can extend your vacuum’s lifespan and ensure it’s operating at full capacity.
Routine maintenance keeps your vacuum in optimal condition, saving you money on repairs and replacements.
6. Mistakes to Avoid
Even with the best intentions, common vacuuming mistakes can hinder your efforts. Here’s what to avoid:
- Vacuuming Too Quickly: Rushing leads to missed spots and reduced effectiveness. Take your time with slow, overlapping passes.
- Skipping Edges and Corners: These areas collect dust and debris. Use the crevice tool to clean them thoroughly.
- Neglecting Vacuum Maintenance: A poorly maintained vacuum won’t perform well. Regularly clean and inspect your machine.
- Using the Wrong Attachments: Each attachment has a specific purpose. Use the right tool for the task to improve efficiency and avoid damage.
Avoiding these mistakes ensures you get the most out of your cleaning efforts.

Conclusion
Vacuuming like a pro requires more than just plugging in the machine and pushing it around. With proper preparation, effective techniques, and consistent maintenance, you can achieve a cleaner, healthier home. Whether you’re tackling pet hair, high-traffic areas, or hard-to-reach spots, these tips will help you master the art of vacuuming.
Start incorporating these professional vacuuming tips into your routine today. Your floors, furniture, and indoor air quality will thank you. Don’t forget to share this guide with friends or leave a comment below with your favorite cleaning hacks!


